Holly-Wood.it  
    Brick 1 x 3
Brick 2 x 2 Corner    
  Brick 1 x 1  
[ english ] deutsch ] italiano ]
 
  Home > MLCad > Tutorial: Digital building - Page 5 of 9  
 
  Page <Previous 1 2 3 4 5 6 7 8 9 Next>  
 

Finetuning


  Screenshot 16
 
  45. Click trough to the Step, Grid, Snap tab in the MLCad Settings and make sure that all values in the Default for grid fine row are set to 1 LDU. Brick 1x3
 
Brick 1x2
Brick 1x1 Round Red
Brick 1x1 Round
Screenshot 17
 
  46. Since MLCad has no snap-together feature it is possible to make two kinds of errors when connecting virtual parts: either leaving a gap or pushing the parts inside each other. The correct distance between two parts may be hard to discover, especially when working in three dimensions. This is most true in complex Technic LEGO sets, working in SNOT technique or simply when parts like axles and wheels have to be fitted. To aid the docking I color the fixed part temporarily with a color that highlights its edges predominately such as light blue. The part that is going to be moved gets a transparent, edge-highlighting color.
Zoom all panes individually to accommodate fine-tuning. In case the area of interest goes off the borders hold down the SHIFT key and the left mouse button to pan in your viewing panes and bring the part of the project that interests you back in sight.

NOTE! If you are having problems selecting the transparent part in the building area, select it in the Projects Parts List or use the following technique: Hold down the left mouse-button in the building area close to the transparent part you want to select and drag a selection rectangle (it will be highlighted black) until it touches the part, then release the button. Take care not to include other parts in the rectangle; chose carefully the pane in which to perform the selection.
 
  Brick 1x4
Brick 2x2 47. Switch between the different grid sizes to rotate and approximate the wheel. The final coordinates for the front left wheel are: 30.000, 5.000, 0.000. Change the color of the Plate 2 x 2 with Wheels Holder and the Wheel Centre Small back to their original color and Zoom To Fit Zoom To Fit Button.

NOTE! In case you accidentally switched to the fine grid or moved the wrong part resulting in a slight off-set in relationship to the other parts when returning to the course or medium grid, don't go back to the fine grid and try to restore everything back to normal by wild hammering on your cursor keys. Simply hit the Snap To Grid button Snap To Grid Button in the Visibility bar or select Edit > Snap To GridCTRL+SHIFT+G after your switch from the fine grid to one of the coarser grids. MLCad will align the part to the selected grid.


Grouping parts


  (The screenshot shows all menus and dialogs in one composed image).
Screenshot 18
 
   Brick 2x3 48. Duplicate the Wheel Centre Small and modify the double to a 3641 - Tyre 6/ 50 x 8 Offset Tread.  
49. Select both parts and group Group Button them either via the Visibility bar, the menu or the CTRL+G shortcut.  
50. Don't give in to your laziness by confirming the proposed Group name as name and/or adding a number or a letter as suffix as more groups are created – a meaningful group name helps keeping the project organized. Type Wheel Front Left and confirm. Note how the entry in the Projects Parts List has changed.  
 
  Screenshot 19
 
  51. Duplicate the Wheel Front Left group three times. Unfortunately the parts will be ungrouped in this process and you'll have to regroup them. Name them:
  • Wheel Rear Left
  • Wheel Front Right
  • Wheel Rear Right
and arrange them at the desired positions. Save and name the file Basic_03.ldr.

Congratulation, you have just managed to complete the project! In the final part you'll learn how to add building steps, save images of the single steps as well as a list of the parts used for the project.
Brick 3x3


Adding building steps


Brick 1x2 Screenshot 19
 
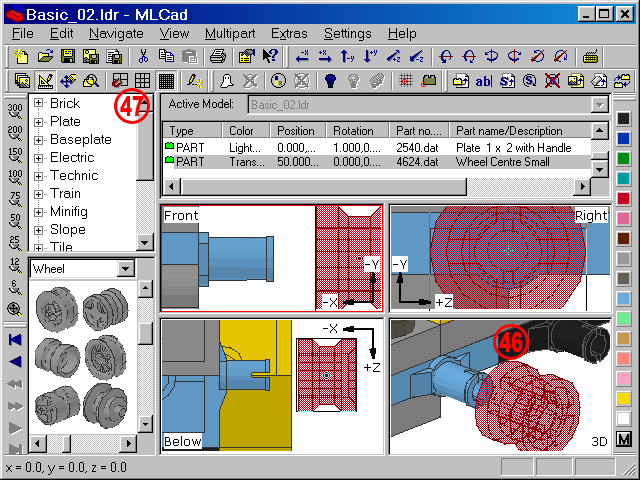
  52. Before we add the building steps some preliminary tweaks to the interface have to be done. Rearrange the panes to see more of the Project Parts List if you've got a small screen. The orthogonal views are not needed and can be moved out, since all part selection will be made in the Project Parts List pane.  
  53. Make sure Draw To Selection Only Draw To Selection Only Button is activated and the Object bar Object Bar is visible.  
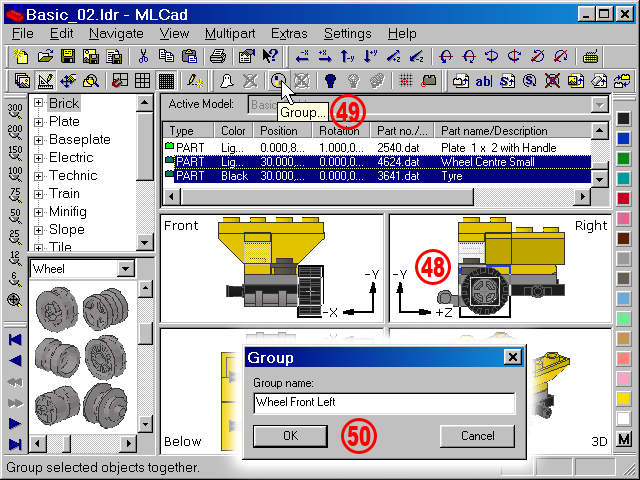
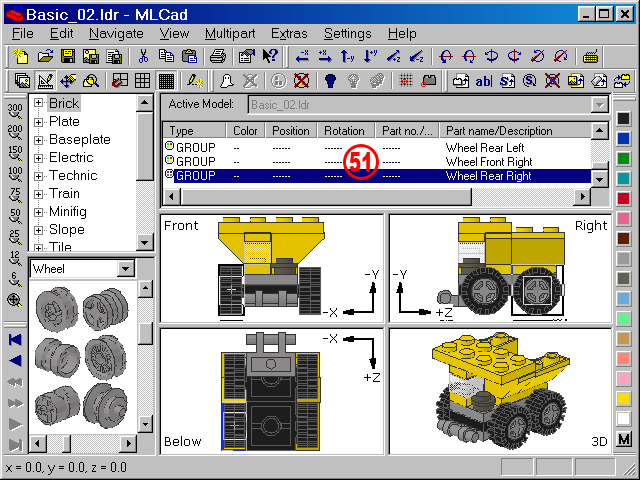
  54. Though MLCad offers a sorting feature via Edit > Sort... it is recommended to shape the final sequence of the parts manually. Use the automated sorting only as a starting point in case your project is really messy. This is most true if your project contains groups and submodels which confuse the program when sorting by position. Select Cancel to close the dialog without performing any sorting.
Use "cut and paste" to change the sequence. For the fast: Select the part, hold the left mouse-button and move the part up or down to its new location in the list. Release the button when the cursor is over the small space between two parts. This works also for multiple parts selected with the CTRL or SHIFT option.

NOTE! Moving a block of parts the internal sequence of the parts in the block might be inverted after you have moved the block. It pretty much depends on the order you've selected the parts. If you've got for example a list of plates with a Plate 1 x 1 at the top, a Plate 1 x 2 second ... and a Plate 1 x 10 as last entry in the Projects Parts List and you start selecting with the SHIFT key from the bottom, say Plate 1 x 10 first, your order will become: Plate 1 x 10 ... Plate 1 x 2, Plate 1 x 1 once you've moved your block and released the mouse-button.
top  
    Page <Previous 1 2 3 4 5 6 7 8 9 Next>  
  Brick 1x3
All content is provided as is, with no warranty stated or implied regarding the quality or accuracy of any content on or off this site.
LEGO® is a trademark of the LEGO Group of companies which does not sponsor, authorize or endorse this site.